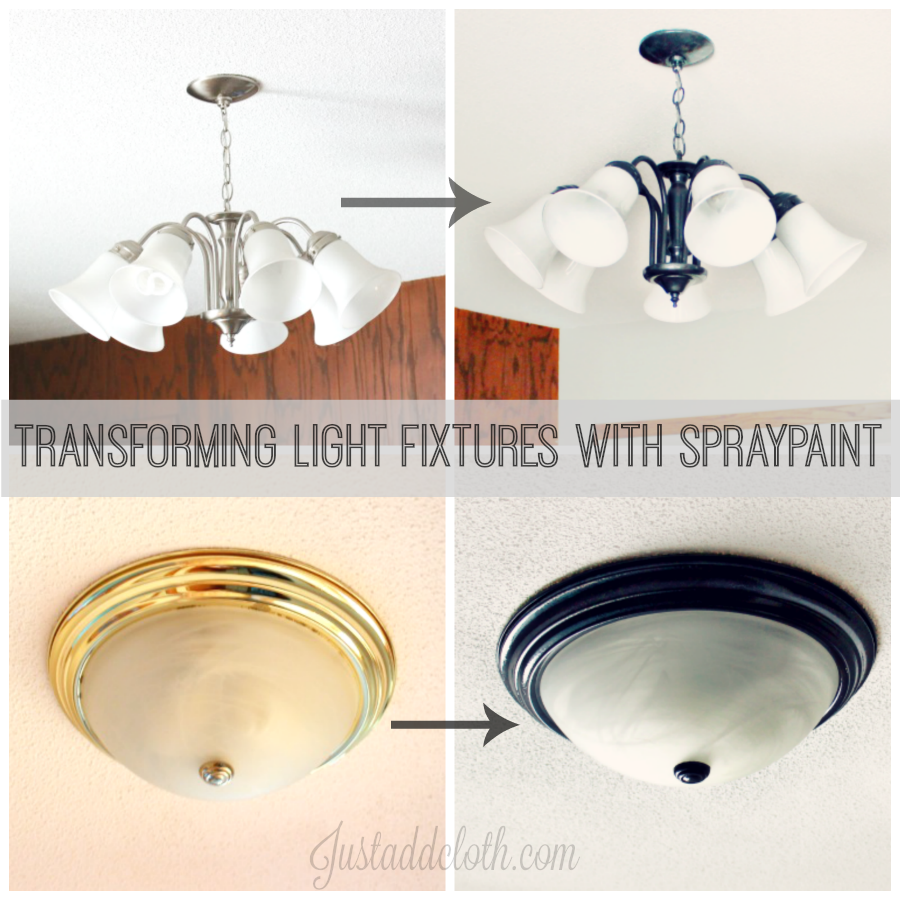
In addition to the garage catch-all room makeover, I am working on a few revamps of small areas like the front door entryway and the hallway. These little projects really just require a coat of paint and a rug, plus maybe something arty on the wall. One thing that can really change a space is the light fixture. Unfortunately, new light fixtures are not in our budget right now. At least not the ones I want. I really hate the “brushed nickel” fixtures in our kitchen and informal dining areas. I also really hate the shiny brass boob lights. Yes, I understand shiny brass is enjoying a short-lived comeback, but it really does not go with the cozy, rustic look I am trying to cultivate.
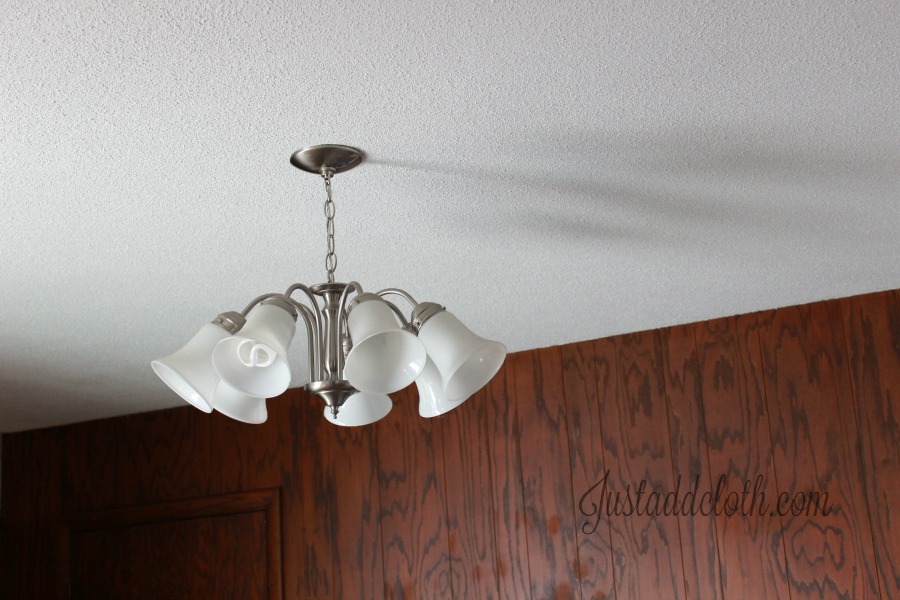
I decided since the fixtures are super cheap and super ugly, I would paint them. If I ruined them, so what? They are REALLY cheap. The previous owners outfitted the house from the $5 bin at Menards.
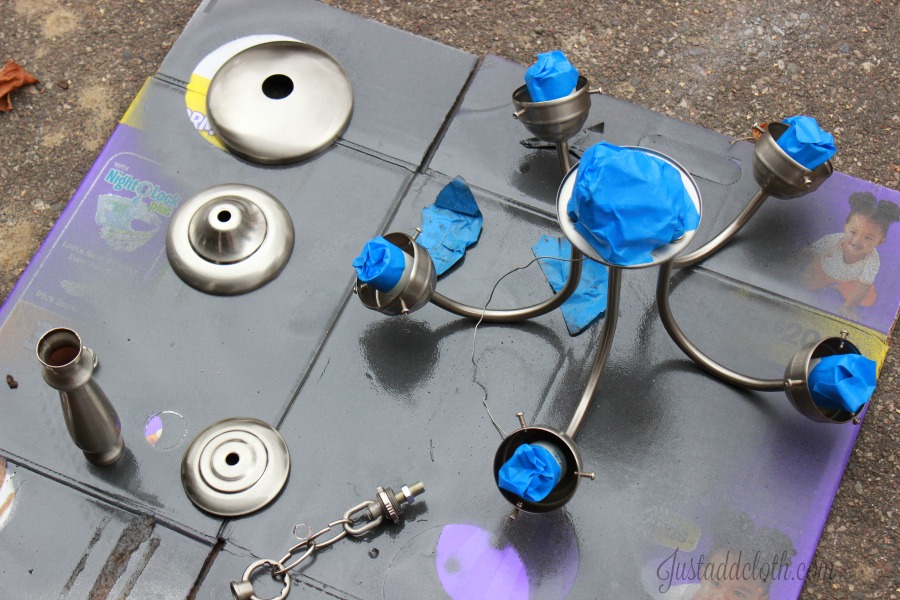
The chandelier fixtures were hard wired very tightly, so they were some work to get down. ( And major work to get back up.) I covered the wires and ceramic inlets with painter tape.
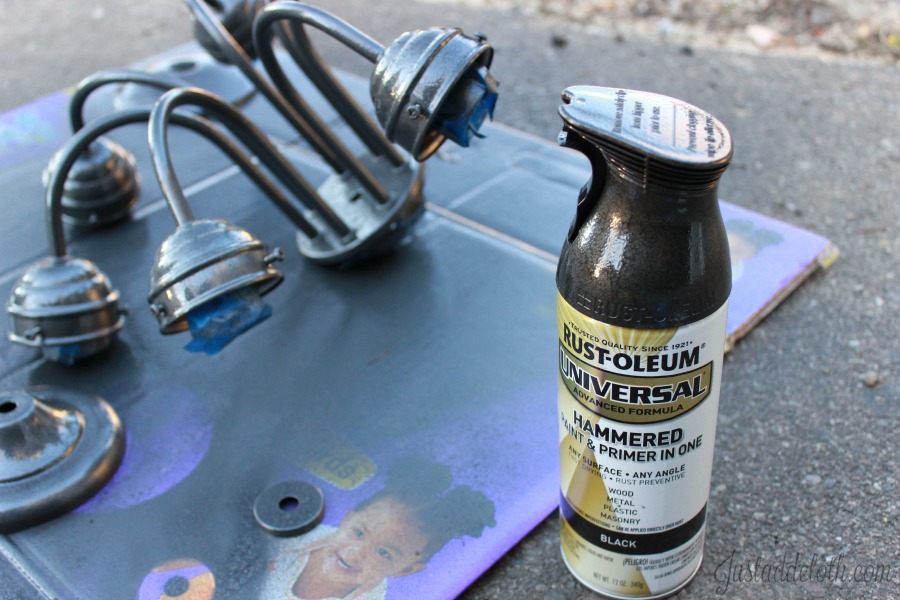
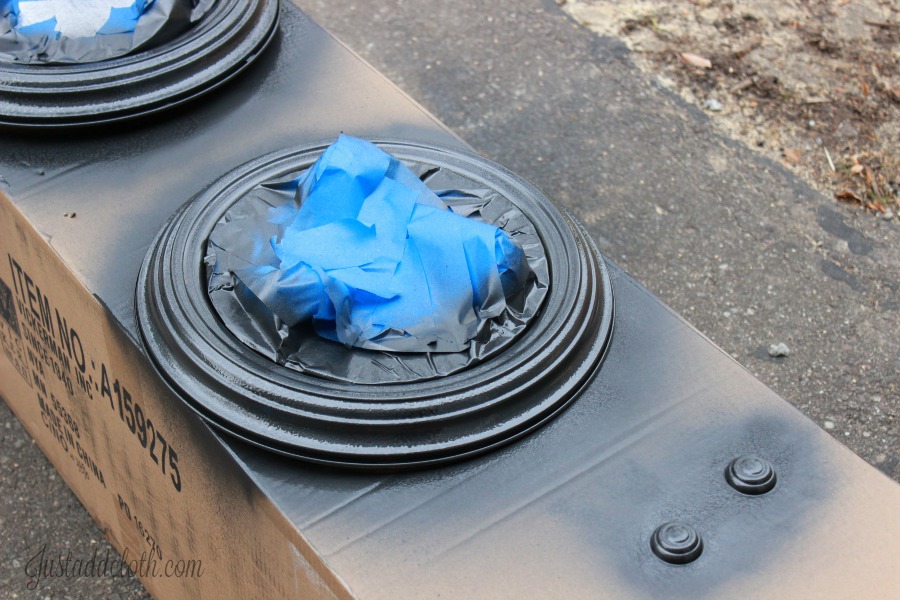
The Rust-oleum universal Advanced formula Paint & Primer in one in the hammered finish was the closest thing I could find to what I wanted. No one carried a non-shiny bronze option anywhere and I didn’t want to order it and wait. I sprayed a thin layer from all angles and let it sit for 45 minutes, then sprayed another layer. We let them sit and cure for 24 hours.
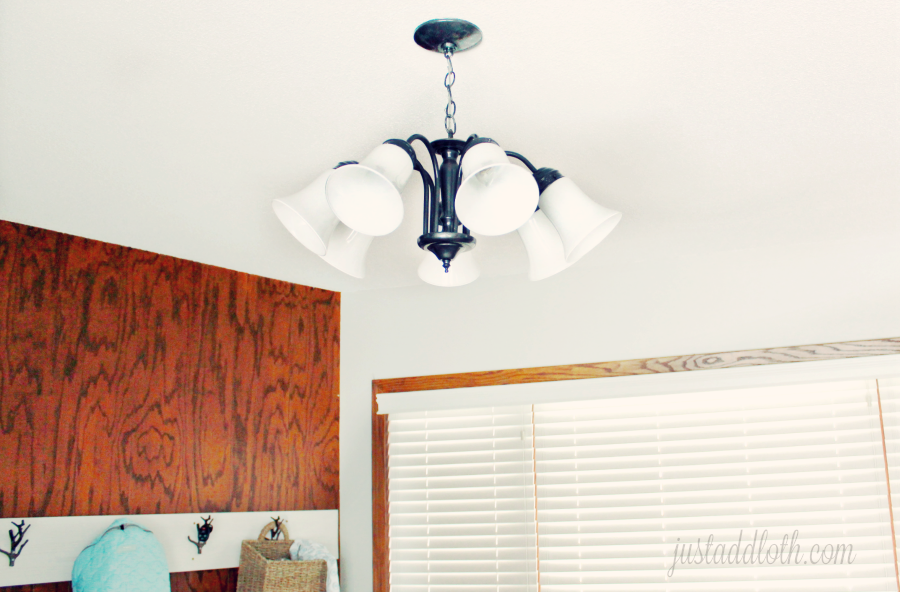
After rehanging it and adding the appropriate light bulbs, I must say, I hate it much less now. The black definitely goes better with, well, anything. It looks much less cheap now. We did the same with the identical fixture from the kitchen. That one required a lot of cleaning first due to the cooking grease build-up.
Time to makeover the boob lights!
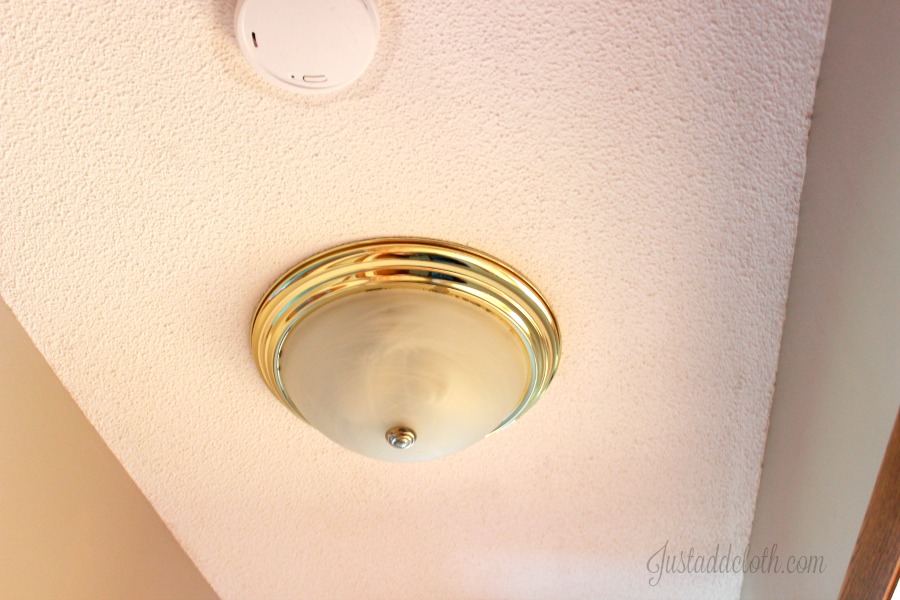
Yucky brass………..
Two coats of black hammered rust-oleum……..
BETTER.
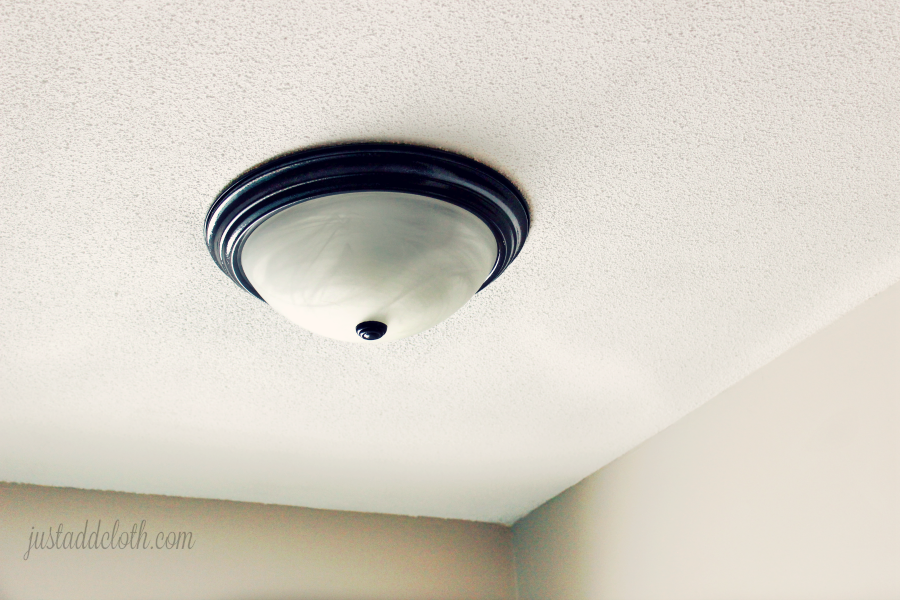
Luckily, the boob light domes were the swirly milk glass and look fairly nice with the shiny black. The hallway looks less dated now, even if they are still boob lights. With a small, mid-century house, I am not sure how well big dramatic fixtures would work out anyway.

So there we have it.
- Take down fixtures.
- Clean them.
- Dry them.
- Cover important areas and wires with painter tape.
- Two light coats of spray paint.
- Allow to set at least overnight.
- Rehang and wire fixtures.
Now it is like we have new lights for a total of $10.


