Well, we finished moving last week.
Our new place has twice as much space as our last. And because I can, I am going to completely change my decorating motif/theme/whathaveyou. I have been schlepping the same lamps and curtains around from apartment to apartment and I am just sick of them. They are dingy and blah. I decided something crisp and fresh was in order. I ordered new curtains, and fabric to make complimenting throw pillows. I might try my hand at making a slipcover for the sofa, but I am not very talented so maybe I should stick to the pillows.
Anyway, today I gave my lamp a makeover. It was a wedding gift back in the day, just a cheap item from Target. However, lamps are spendy and this one worked just fine. The shade originally had beige faux silk and little orange beads hanging from the bottom. I attempted to spray paint the shade as I had seen done on some blogs and decorating shows, but it was a disaster. I stripped the shade to the frame and decided to recover it myself. This turned out to be easier than I thought!
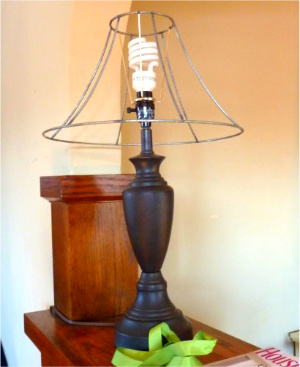
Here is what I started with:
Its a bell shaped uno shade with a brushed metal base.
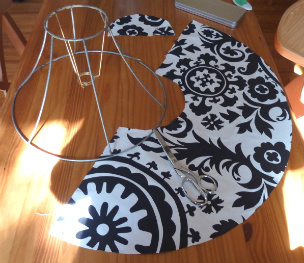
First I laid my chosen fabric out. Then I marked the starting spoke on the shade and rolled it across the fabric tracing a line along the top rim with a pencil. I rolled it again and traced the bottom rim with pencil. I gave a 1/4 inch allowance for each end and cut out my fabric.
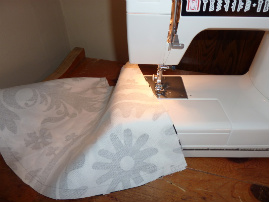
I turned it blank side outward and lined up my edges to sew the side seam.
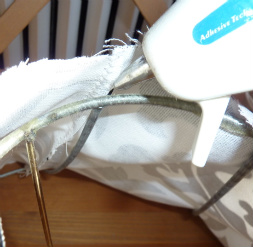
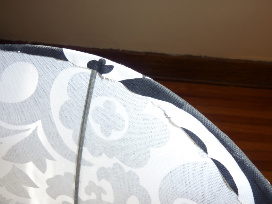
Then turn it printed side out again and stretch it over the shade frame. Once you have it in place, glue the fabric to the top of the spokes to keep it in place. Then start gluing around the top rim, tucking the rough edge of the fabric around the rim. I used a high temperature glue in a hot glue gun. You want a high temp glue since it will be near the light bulb.
Pull and stretch the fabric over the bottom rim and glue along the spokes and rim like the top. Make sure the fabric is pulled tight. Start along the side seam and work your way around. If there is slack once you get all the way around you can adjust your seam with glue. Be careful, the glue can get messy.
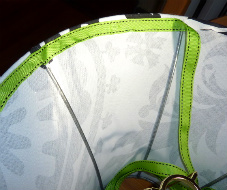
You can cover your rough edge inside the shade with some ribbon or extra fabric. I used a heavier weight fabric so I didn’t need a lining in my shade. I used some ribbon I had laying around from a gift bag.
Start at your seam and glue the ribbon over the rough edge, working your way around the lamp. When you get back to the seam, fold and tuck the edge and glue in place. You can do the same with the top rim. You can choose to have all of the ribbon be on the under side or fold it over the rim for a pop of color.
I used a general purpose semi-gloss spray paint to paint my lamp base bright white. It took about three coats to get nice coverage and shine.
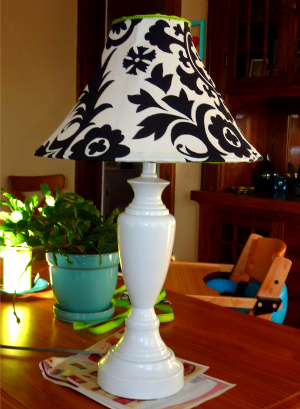
And my new lamp!
Before
After
If you look closely, the paint job and glue job look a bit shoddy, but for my very first time, its not too shabby!
The spray paint was just a cheap generic brand from the hardware store for $3. And the designer fabric was on clearance. All in all, I spent about $8 making my old cheap Target lamp look just like the $300 one from my decorating magazines. Well, from 10 feet away it looks just like it. And the whole project only too about an hour.
So if you too are sick of your lamps, save some dough and try redoing them yourself!
**Lucky has since knocked this lamp off the table several times and it is nearly permanently broken. I am very glad I just fixed up an old lamps rather than purchasing new.

